
Once more we dive into a PC project, to help revitalise and refine.. another chance to see how much more we can bite off than we can chew. Why do we do it? Because we love it!
For certain it's a first world problem, but with the online learning I've indulged over the last couple of years I've come to appreciate the value of screen real estate. Working with one screen is fine when you're keeping your tasks simple, however when you expand your ambitions even a little it's very easy for a single screen to become two. It a slippery slope from there when you split your second screen up into a barely manageable arrangement and the idea of a third creeps over the horizon..
The Stuff
There are two stock lengths to choose from - 186cm and 246cm. I was tempted for the latter but realised in spite of the minimal difference in price that it was a bit overzealous. The longer desk size would've required a rethink of other furniture and more than five legs.. oh, I was going to get to that wasn't I. There are examples aplenty of IKEA-esque PC desk builds which have bowed after propping up monitors and other hardware for extended periods - this is naturally something I wanted to avoid. I believe IKEA even recommend that you place a leg every 80 cm or so, of a given design. Time will reveal whether others have chosen poorly or if the bowing is inevitable, but I considered it a forewarning.
The core tech upgrade is another dip into the realm of IPS monitors. I've been very happy with my Samsung, which I purchased about ten years earlier at time of writing, and it continues to be a fabulous workhorse. Viewsonic, Dell, Samsung, Corsair, LG, Lenovo, to mix my metaphors all had a good horse in the pool.
Originally the criteria was to be 32", IPS panel (colour accuracy) and 1440p resolution. At some point I landed on the Asus page and found their Pro Art range. The 32" was more expensive than I wanted to stretch to but I was also very mindful that a screen is as much an investment as the desk.. Push and pull, push and pull.. Then I happened across its 27" brother, on sale for half the price of its larger brother. As an entry level monitor which ticked professional grade aspirations it represented significant quality to price compared to models from competitors.
There were three main main differences between the Pro Art choices; 27" instead of 32", standard dynamic range vs high dynamic range, and the DCI-P3 colour space was absent on the lower model. Otherwise the foundation was peachy. The 32" increase would've cemented it as a centrepiece of the affair but the 50% saving was too tempting. Thus we landed on the Asus Pro Art PA278QV, and what a beauty she is.


I decided to put the screen through its paces whilst waiting for the other hardware to be delivered. First impressions were good. The screen boasts a great low reflectivity screen.
 |
| That inevitable giddyness when you see three monitors to play with.. |
Under the hood it seems that Asus has sneaked in a DCI-P3 mode!? By all accounts (text and video reviews) this wasn't a thing on this monitor? I have no explanation but it's welcome.
 |
| DCI-P3!? |
After the test it went away back in its box for safekeeping.. honest!
The Project
Parts were incoming from multiple directions - IKEA, Amazon and Argos. With the increase in desk space I would need to replace the current Displayport and USB hub cables with longer variants (now was as good a time as any to swap out the DVI cable on the Samsung). Given we were working with a better piece of wood for the desk the new monitor probably deserved a monitor arm, a choice which would also happen to gift the user a little more usable desk space.IKEA were the first to throw a spanner in the works. My plan was to seek assistance in getting the worktop from the local store to mine rather than have them deliver, but after all that deliberation it seemed that the worktop I was looking at wasn't available at the local store (ironically the larger variant was). There was nothing in the ordering process to suggest that you could have them relocate stock between stores so it became a rather expensive delivery affair which I hadn't accounted for, and reluctantly had to swallow.
Argos came into play on a whim with their sale price cordless screwdriver. Curiosity got the better of me and I took a peek - they had a simple little unit which fit the bill nicely. I decided that it would make a timely little investment that could save my wrists and made the choice to buy it there and then using the app - since I was headed into the city I could pick it up along with my bag of food shopping and be positioned ready. Unfortunately the app (for reasons best known to itself) when given a choice of four or five local stores with the item in stock instead committed me to an obscure delivery store I didn't even know existed, requiring some delivery time. This was compounded by an email confirmation which spoke only half truths, claiming the item would be available for collection at the wrong store "from 10am the next day". I resolved my frustration by seeing this as an excuse for more walking exercise, until I found the unabridged version of that message stating any time between "10am the next day to store closing time a week on..". Shouting angrily at the clouds I clung to the thought that somehow it would all come together - three orders scattered over four days, now possibly scattered over a week..
Come the next day and the IKEA delivery turned up at a frighteningly efficient 8:30am. After taking receipt of that I thought I'd see if I could adjust my order with Argos. I could just use a normal screwdriver but that first world huff wasn't about to let go, and I didn't really fancy the principle of waiting for a whole week to assemble my project. Surely they would have the means to shuffle stock around in the background and allow me to go and get my screwdriver from one of the other, well stocked local stores? Nope they didn't.. Hmmm. Since I was stuck in waiting for the delayed stuff from Amazon I remained fixed and pensive. Come the afternoon my delayed kit turned up along with an early delivery for the Displayport and USB cables. I wasn't going to look this gift horse in the mouth. Then an email dropped from Argos - the screwdriver was ready to pick up. Maybe my earlier efforts had poked the bear into action but I gave up trying to figure out the how's and why's. By the evening I was ready to begin the project, but it was late.. it could wait until the next day.
The Next Day
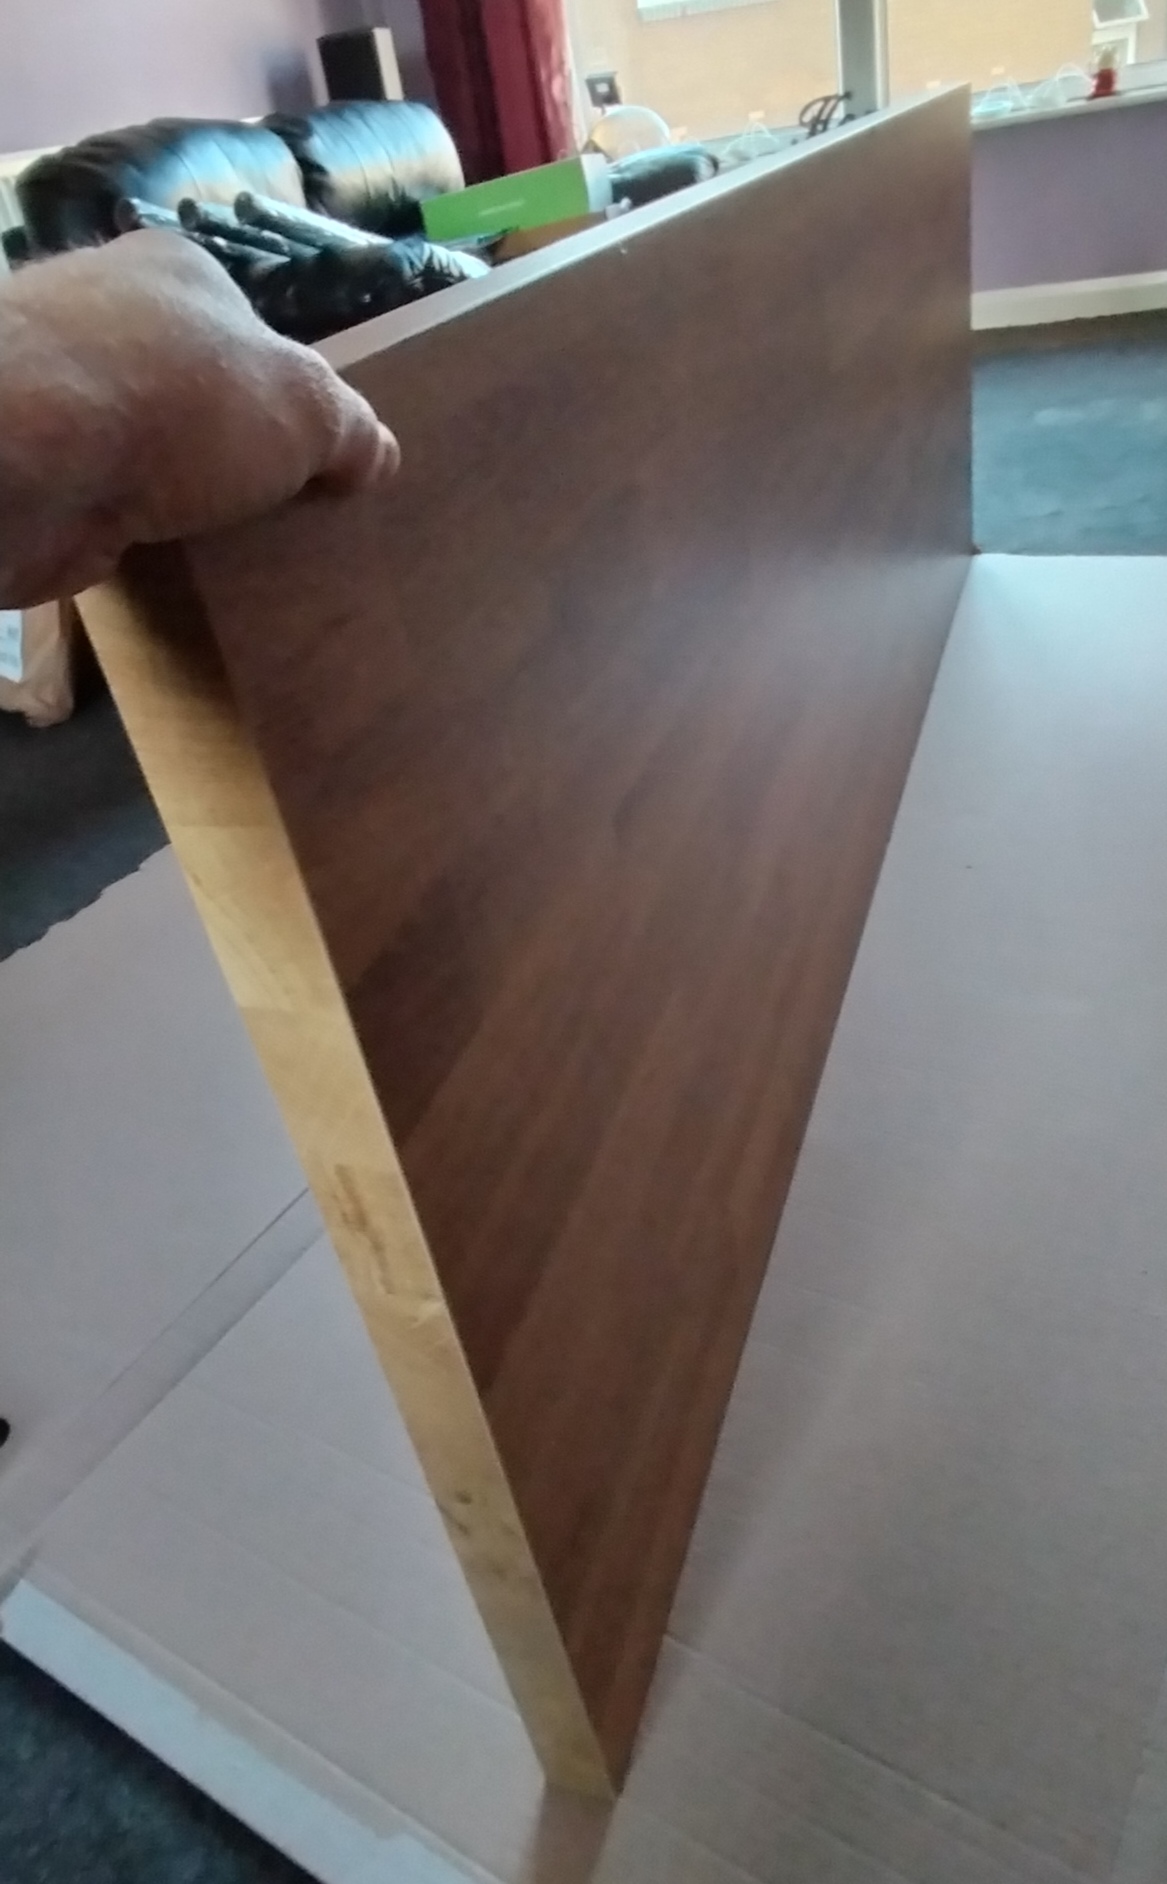
Logic determined that I would assemble the desk into its basic form before disassembling my PC set up - if something went wrong I wasn't about to lumber myself with the irritation of having to reassemble the PC on top of that. I unpacked the worktop, established the positioning for the legs, and marked/drilled the screw holes. The worktop itself looked to have taken a little dint either en route or during production. It wasn't bad enough to warrant a return or anything drastic, but it did help me decide which of the longer edges would become the back.


